In this page, I will walk you through the process of disassembling a hard drive to get magnets out of it.
This will ruin your hard drive, rendering it unusable to your computer. Playing with magnets may result in fingertip pain. I used pictures of hard drives from the internet. Yours probably won't look exactly the same, but it will have similar parts.
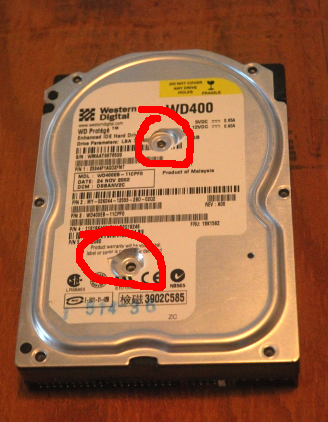
Using either your fingernails or your flathead screwdriver, peel the stickers off of the outside of the drive. It isn't necessary to peel all of the sticker off, just the parts of the sticker that cover holes.
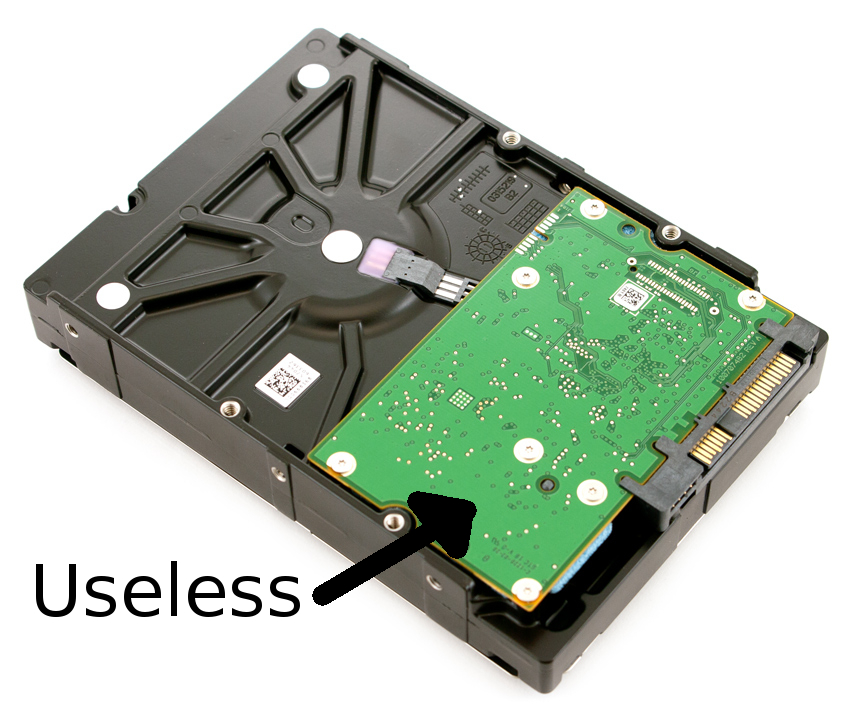
Now, take out all of the screw on the outside of the HDD. All of them. Top, bottom, and under the stickers. The circuit board on the bottom will probably fall off at this point, which is fine. It isn't needed. The top panel will probably stay on though.
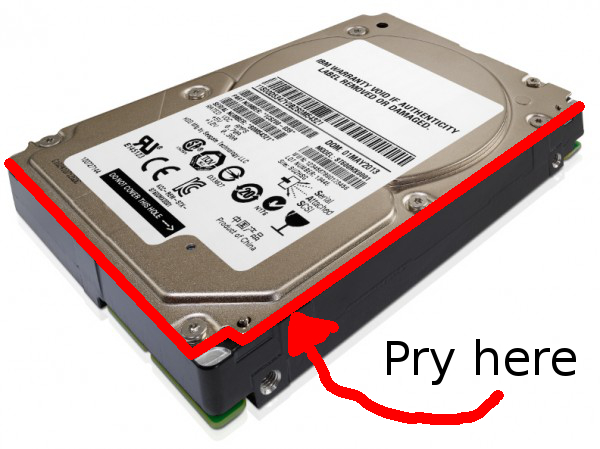
First, MAKE SURE ALL SCREWS HAVE BEEN REMOVED! Then, insert your flathead screwdriver/prying tool into the gap between the top panel and the main black part. At this point, the peices are only being held together by a rubbery ring. Pry, scrape, and twist with that tool until the top panel gets loose. You might be able to pull it off with your hands, but you'll probably have to pry all around.
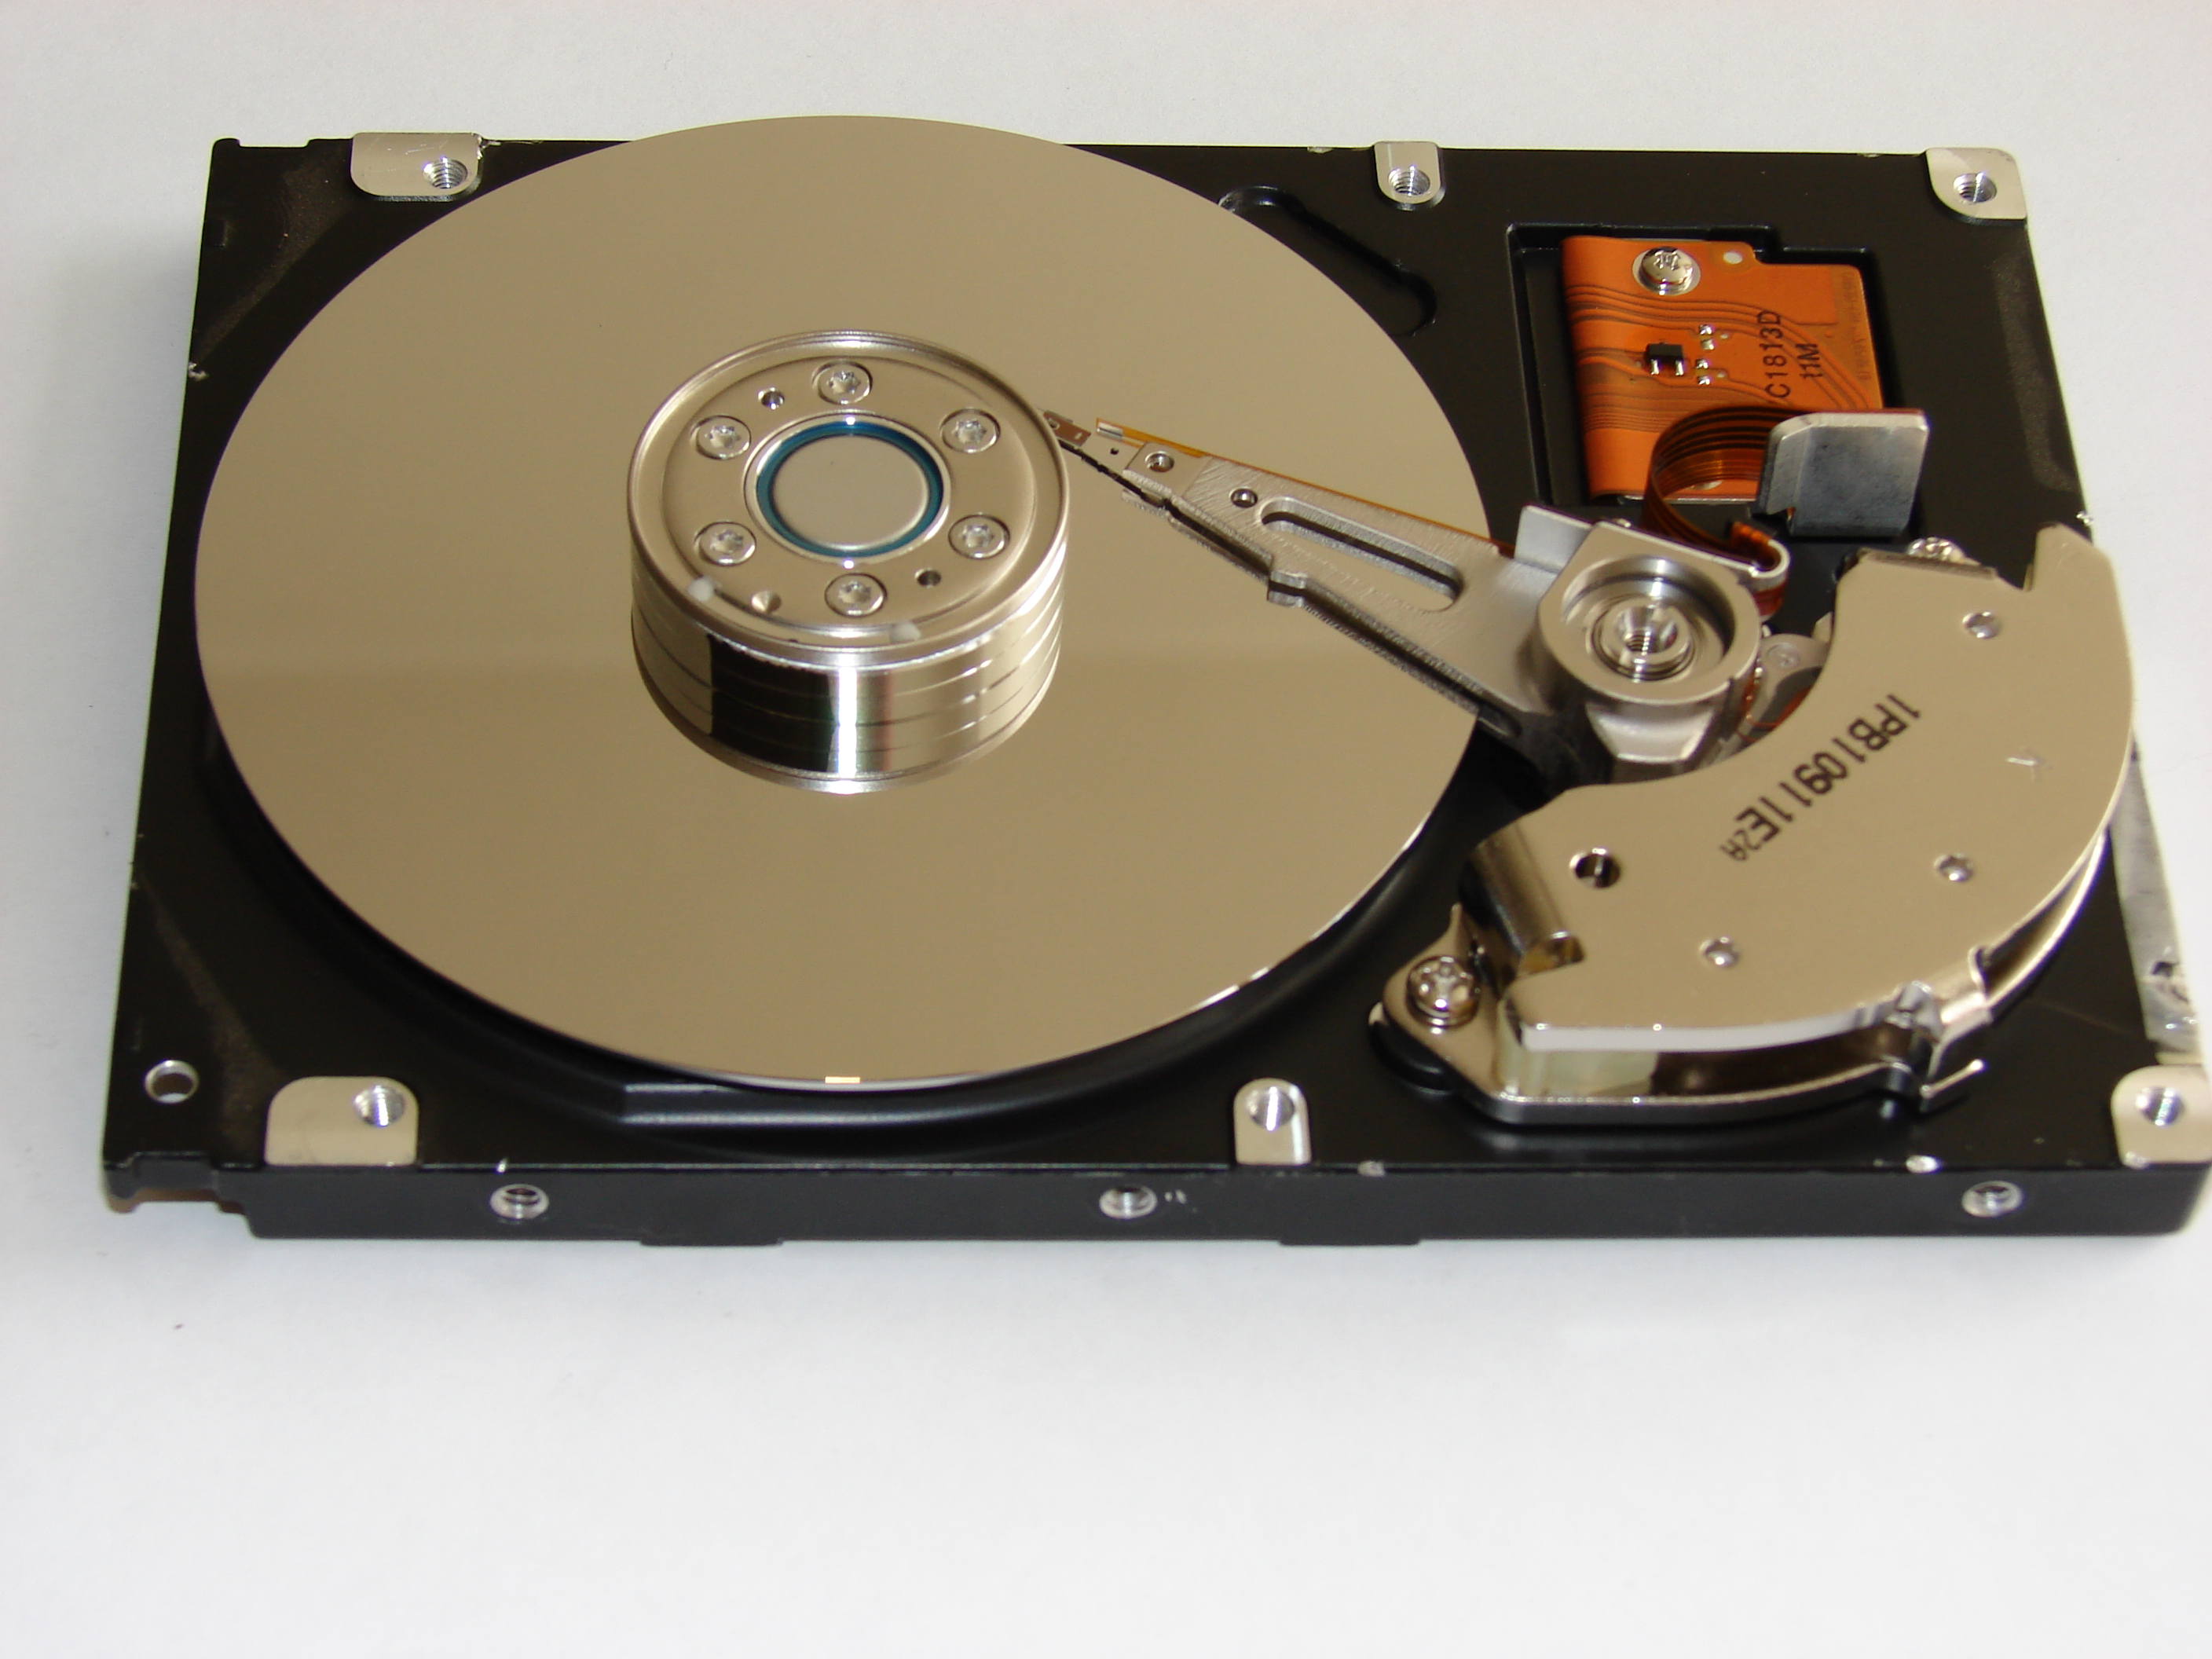
Once the cover is off, use your screwdriver to remove all of the screws around the magnets. The magnets are the top and bottom of the arm (that thing that moves across the big disk). The magnet on top might seem attached after you take the screws out, but it isn't. It only seems that way because it's a magnet, and it's being stuck on with magnet power.
Use your flathead screwdriver to pry that top magnet off if you need to. Once it has been removed, take the arm off. The screw will be at the joint of the arm. If you don't see something that is obviously a screw, then check for a ring with a slot cut in it. This is the screw. Use your flathead screwdriver to remove it. Once you remove the arm, you should be able to see the second magnet. Remove any screws that might be attaching it, and pry that off.
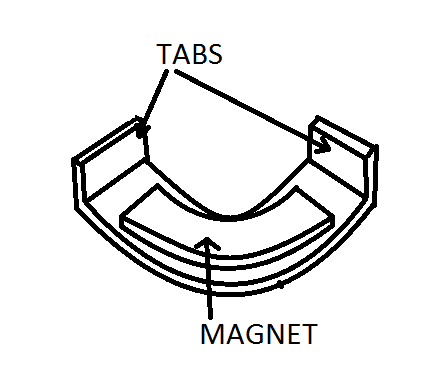
Now that you have your magnets, it's time to cut them down. You don't have to take them off the metal piece if you don't want to. I never do because they snap in half easier if you do that. Anyway, the magnet that was on top probably has little tabs that hold it up. Taking those off will allow the magnets to contact each other completely, and pinch fingers with more force. You can do this with pliers, bolt cutters, or a saw.
Now you have your own pair of super strong hard drive magnets! Play with them. You'll probably eventually pinch your fingertips. It'll hurt really bad.
Questions? Comments? Witty Criticisms? Email me at ethancox+website@gmail.com